Instructions to install Rang Dong LED Panel
Rang Dong LED panel is being used widely for many applications, but not everyone is already known and understood about this type of lighting product. In this article, Rang Dong will help you differentiate various types of LED panel and how to use them.
Different types of LED panel from Rang Dong:
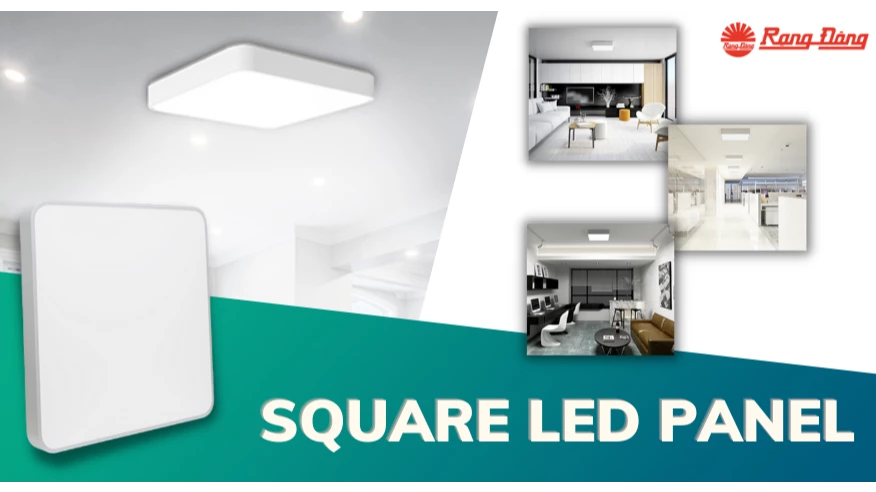
In order to meet the needs of diverse customers, Rang Dong offers 2 lines of LED panels, which are small panel (round, square) and large format panel.
- Round LED panels are available with the power of 6W, 9W and 12W, corresponding to the cut-hole diameter of 90mm, 110mm and 135mm respectively.
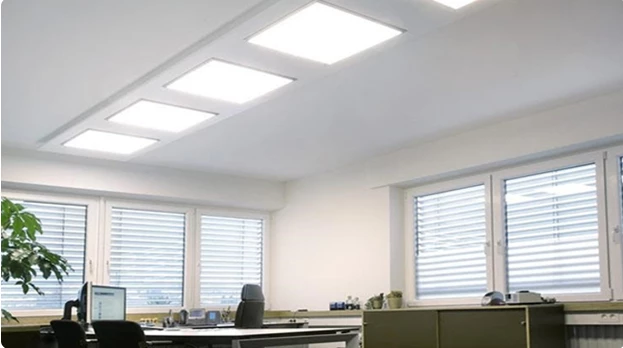
- Large format LED panels usually have higher power, from 40W to 80W, and there are 3 mainly used sizes, which are 600x600mm, 300x1200mm and 600x1200mm.
Instructions to install LED panel
1. Small LED panel
With the small LED panel type, the installation method is similar to the LED Downlight. Please watch the tutorial video below:
Step 1: Cut holes in plaster ceiling
You need to determine the installation location (you should consult the LED suppliers or whom with experience).
Then, cut a hole on the ceiling in accordance with the specifications printed on the packaging box.
Step 2 : Connect the light to the electrical system
To ensure your safety, please turn off the electric power before carrying out the manipulation. Make the connection between the light and the electrical system.
Step 3 : Complete installing the ceiling light
Install the light to the previously connected driver.
Bring the driver up to the ceiling through the cut hole, then the light, gently hold the flip clips and pass it into the hole, after that, release your hand. The flips will pop out and be fixed on the ceiling hole.
Correct the position of the light neatly under the hole to ensure the aestheticism.
Turn on the power to check if the light source and light distribution are proper and adjust if necessary.
2. Large format LED panel
For this type of LED panel, customers will have 3 installation options: recessed installation (with plaster ceiling system), suspended and built in installation (with concrete ceiling system). Detailed instructions for each type are listed below:
a) Recessed:
Step 1: Unscrew to assemble the spring plugs.
Step 2: Assemble the spring plugs to the light and fix with screws.
Step 3: After fixing all 4 springs, conduct the installation process same as with the Downlight.
b) Built in:
Step 1: Install the panel frame on ceiling.
Step 2: Insert the panel into the frame.
Step 3: Connect the panel to power source.
Step 4: Install the supporting beam to the frame and turn the power on for testing.
c) Suspended:
Step 1: Mount 4 brackets onto the ceiling.
Step 2: Use the suspension cable, pass through the 2 springs to hang the light up.
Step 3: Put the other end of the suspension cable through the springs and use the cable buckle.
Step 4: Afterwards, fix the cable buckle with screws to ensure balance.


