Rang Dong Smart Switch Operation Guideline for Smart Homes
The guideline details each step from wiring and device pairing to automation and voice-assistant setup so smart switch users can confidently unlock smooth, convenient and modern home control to begin their smart home journey. The smart switch device described herein is made and marketed by Rang Dong, Vietnam’s leading provider of smarting lighting solutions.
Smart switches are rapidly gaining traction in modern households as they enhance living by improving convenience, promoting energy savings, and strengthening home safety thanks to their remote control features, scheduling options and seamless integration with smart-home ecosystems.
In order to maximize these benefits for a smooth operation, proper installation and configuration are required.
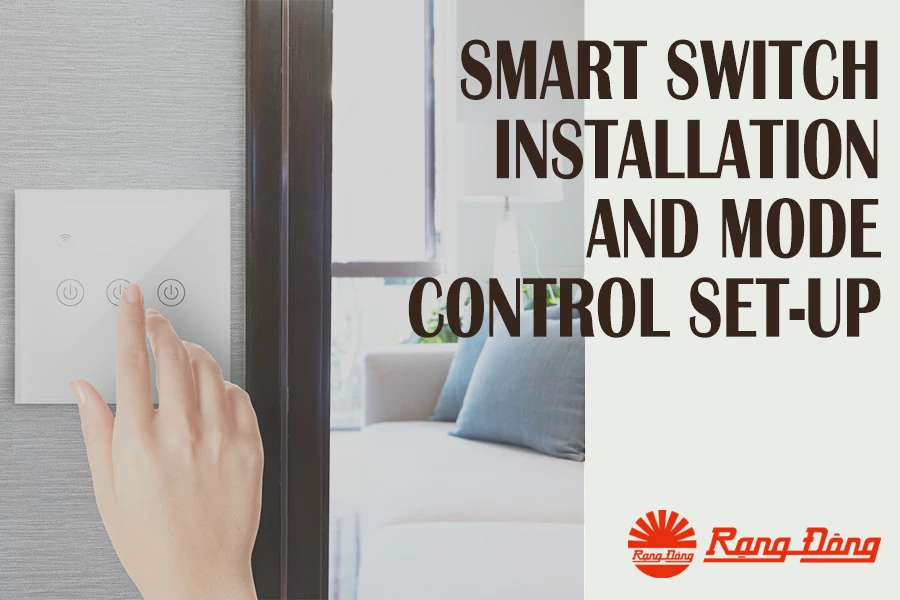
Smart switch installation
During this process, which similar to conventional mechanical switches, correct wiring is essential to ensure proper operation and safety.
⚠️ Safety Reminder: Before the start, the electrical breaker must be switched off, and insulated tools be used to avoid shock hazards.
Gently insert a flat-head screwdriver into the plastic latch to release and separate the glass panel from the base module.
Wiring instructions
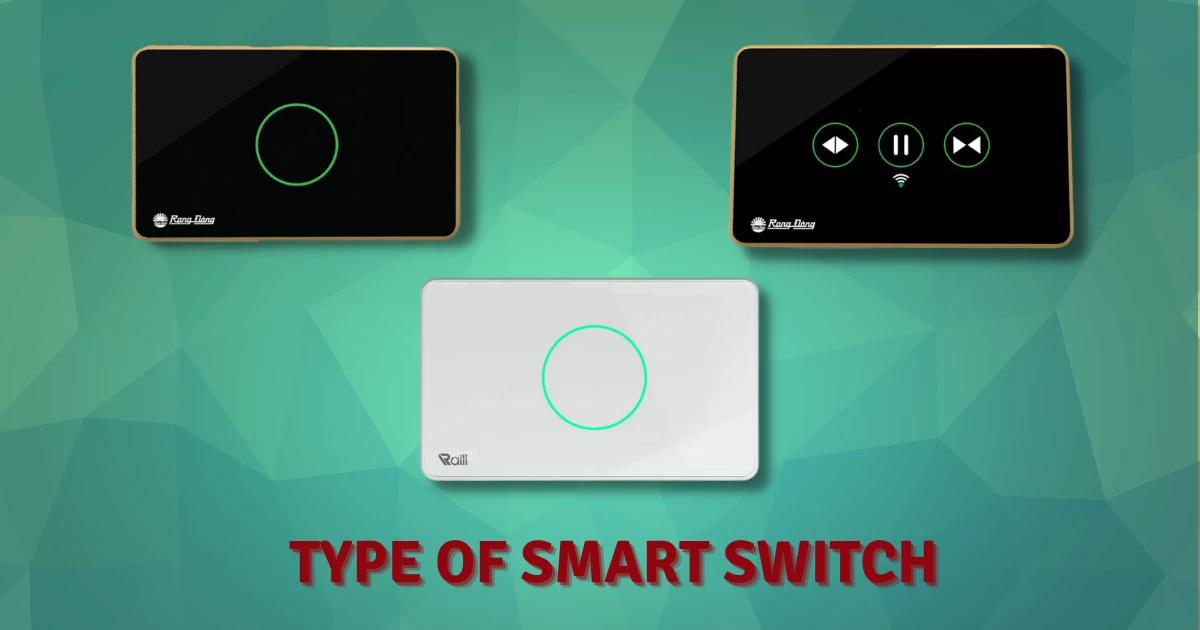
Two primary wiring types are commonly found in smart switches:
Smart switch with neutral wire (N)
This widely used configuration requires three wiring connections:
L (Live/Phase): Hot wire supplying power
N (Neutral): Mandatory for powering the smart switch
Load (L1, L2...): Conducts electricity from the switch to connected devices such as lighting fixtures or fans
Notes:
Wires should be arranged neatly to prevent short circuits and ensure device longevity and user safety.
The switch body must be properly aligned before reinstalling the glass panel.
The glass panel must snap securely into place and sit flush with the touch surface.
Smart switch without neutral wire
This type is suitable for older buildings that lack a neutral wire. However, compatibility may vary depending on the type of lighting fixture, as some no-neutral switches require a minimum load to function.
Installation is therefore less complex, requiring only a live wire (L) and load wire.
For complex wiritng scenarios, assistance from a certified electrician is recommended.
Smart switch setup
Most smart switches are supported by a dedicated mobile application, enabling remote control and automation features.
Installing the control app
A correct control app is required in place, as each smart switch brand uses its own platform, such as Tuya, Smart Life, eWeLink, or brand-specific systems, with Rang Dong’s RalliSmart for instance.
Download the app from Google Play on Android or the App Store on iOS. After launching the app, users should register an account using an email address or phone number in order to activate remote control and device management functions. Connecting to WiFi
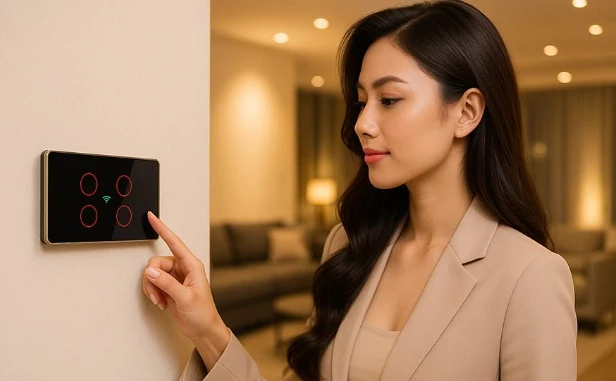
First activate the pairing mode by pressing and holding the switch for 5–10 seconds until the indicator light blinks. It is noted that some models may use alternative sequences as detailed in the product manual.
Next, open the control app, select “Add Device,” choose the correct category such as “Smart Switch” or “Wall Switch,” and enter the WiFi name and password (2.4GHz only) to complete pairing. Once connected, the switch can be assigned a descriptive name, such as “Living Room Light” or “Balcony Switch”, for easy identification and management.
Adding a smart switch in the app
For WiFi smart switches, make sure the device is powered and the mobile device connected to the same WiFi network.
Press and hold any button until the LED indicator blinks, solid blue indicates connection, off means no connection, and blinking signals pairing mode.
Open the app and select “Add Device”, following the on-screen instructions to complete setup. For BLE (Bluetooth) smart switches, connect the mobile device to the same network as the Home Controller (HC) or via LAN, select the HC in the app, choose “Add Device”, and use the scan function to detect nearby switches. Once scanning is successful, the LED will flash and the app will confirm the newly added device.
 Note that the home controller must be set up beforehand and the switch must also be in “out-of-network” mode before being added. Newly purchased devices are typically pre-set in this mode.
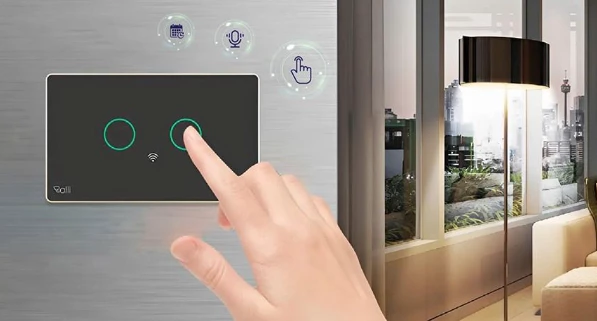
Operating
Once configuration is complete, the following functions become available:
Remote on/off control via the mobile app
Scheduled on/off timers, useful for daily routines or absence periods
Voice control integration with Google Assistant or Amazon Alexa
Real-time device monitoring, including status or power consumption (for supported models)
Once integrated into the home network, smart switch automation and remote control features create a more modern, efficient and enjoyable living environment.
Should you have any questions or request a quotation of Rang Dong products, please send an email to: export@rangdong.com.vn.
Websites: en.rangdong.com.vn and vacuumflask.rangdong.com.vn.